


Mining the Future of Money: But First, Context
This article is a guide for those curious about one of the most fundamental mechanisms in the world of cryptocurrencies. Before I get too deep, I always feel like providing the proper introductory context to my writing so that readers can make an assessment of what kind of mental preparation is required.
If you’ve never heard of mining cryptocurrencies before, I’d suggest watching a 5–10 minute video about the basics before getting started here. If you’re looking for highly technical details on how to start or maintain a mining operation, you’ll find some reinforcing information here, but ultimately you’ll probably want to keep looking. If you’re familiar with mining but you’re not quite sure why it’s so attractive to those who do it and you want to learn more about the fascinating intersection of cryptography, thermodynamics, monetary policy, and game theory, then you’re in the right place.
I’ll start with a brief overview of bitcoin mining and the network process:
Miners and nodes collectively maintain the bitcoin blockchain. Miners compete with each other in a highly compute-intensive process to build blocks of transactions and present them to the rest of the nodes on the network, who will then agree on the next block to be added to the blockchain. Nodes validate all submitted blocks to ensure that they satisfy a specific set of consensus rules, and with a large enough number of nodes, it becomes extremely difficult for a node to “lie” and say that a particular block follows the rules when all the other nodes can clearly see that it doesn’t. At any given moment in time, the sequence of blocks that exists on 51% or more of the nodes on the network is considered the valid blockchain.
The above distinction is important because this article will focus mainly on the miners and their financial incentive, called the block reward. The block reward goes to the miner that builds the first valid block that becomes accepted by the majority of nodes. Building a valid block is significantly more energy-intensive than simply validating because the software takes advantage of the nature of competition to increase the difficulty of the mathematical computation requirements miners must meet to obtain a block reward. Whoever has the fastest computer best optimized for such computations can submit a valid block first, and whoever can do this while minimizing their energy costs will outlast the rest.
So building on the context above, my goal is to outline the practical steps one must take to begin participating in a mining network. You as the reader can then determine whether or not becoming a miner is something that’s worth your time.
Components & Considerations
Since mining is so energy-intensive, you will obviously need to spend money on electricity. This amount of money is nontrivial and is directly correlated to the value of the block reward perceived by the participating miners. These days we have ASIC mining and GPU mining, and while I personally only have experience with GPU mining, they both share common considerations that I will highlight.
To assemble your own GPU rig, you basically need to construct a computer. If you have any experience assembling a personal computer you’ll be very familiar with this list of component parts:
- Motherboard
- GPU(s)
- CPU
- RAM
- Hard Drive
- Frame/Encasing
- Power Supply
- Power Risers
- Power Switch
What I’ll do is go down this list and mention the key considerations that are specific to building and operating a GPU mining rig.
Your choice of motherboard is important because it is a bottleneck on the number of GPUs you can have running at once. If you have 4 PCIe slots, you can only have 4 GPUs running (without getting creative with adapters). To improve cost efficiency, buying a motherboard with 19 slots means you don’t have to buy an entirely new motherboard and set of components to scale up your mining capacity until all slots are filled. It’s important to note that as of April 2018, the Asus motherboard linked above has a limitation at the BIOS level that prevents more than 13 Nvidia GPUs from being recognized by the board. If you want to take advantage of the full 19-slot capacity, you’ll need 6 cards to be either AMD cards or of a specific mining-brand called the P106–6G (comparable to a ~GTX 1060). I imagine there is a similar limitation for 13+ AMD cards, but I have not verified this myself.
There is a plethora of GPUs in the market and higher demand generally fluctuates with the price of altcoins. Due to the competitive nature of mining, the best-performing cards are frequently sold out and re-sold for a profit on secondary markets. You will definitely want to account for this increased cost when planning out your component list and some cards may perform better depending on what coin you will be mining. These details have been heavily documented and are just a single “best GPU for mining <altcoin of your choice> 2018” Google search away.
In general, Nvidia cards perform better than AMD for the most popular altcoins, with the GTX 1080 Ti leading the pack on all fronts. Again, remember to compare upfront costs because while the 1080 Ti will most definitely get you the best $/kwH, lower-priced cards may be better suited for recouping your initial investment in the short term. Chipmakers will continue to compete for superiority here so keep an eye on the market for newly released cards. For reference, the GTX 1080 Ti was released in March 2017 and still holds the crown for the time being.
The CPU, RAM, and hard drive should all be similarly considered and you’ll want to settle for the barebones specs to keep your assembly costs low. Don’t even bother with a Core i3/i5/i7 since it’s the GPUs, not the CPU, that will be pumping out those computations. An Intel Celeron from the latest generation should be plenty and I’ve gotten up and running with 4GB of DDR4 RAM and a 120 GB SSD. Note that miners do not need to download large blockchains, so unless you’re looking to run a full node, 120GB should be more than enough. It’s nice to give yourself some wiggle room here because the operating system you choose may have unique limitations on the brand and number of GPUs you can run, so it may be useful to be able to partition different operating systems on the same drive as you test out your optimal setup.
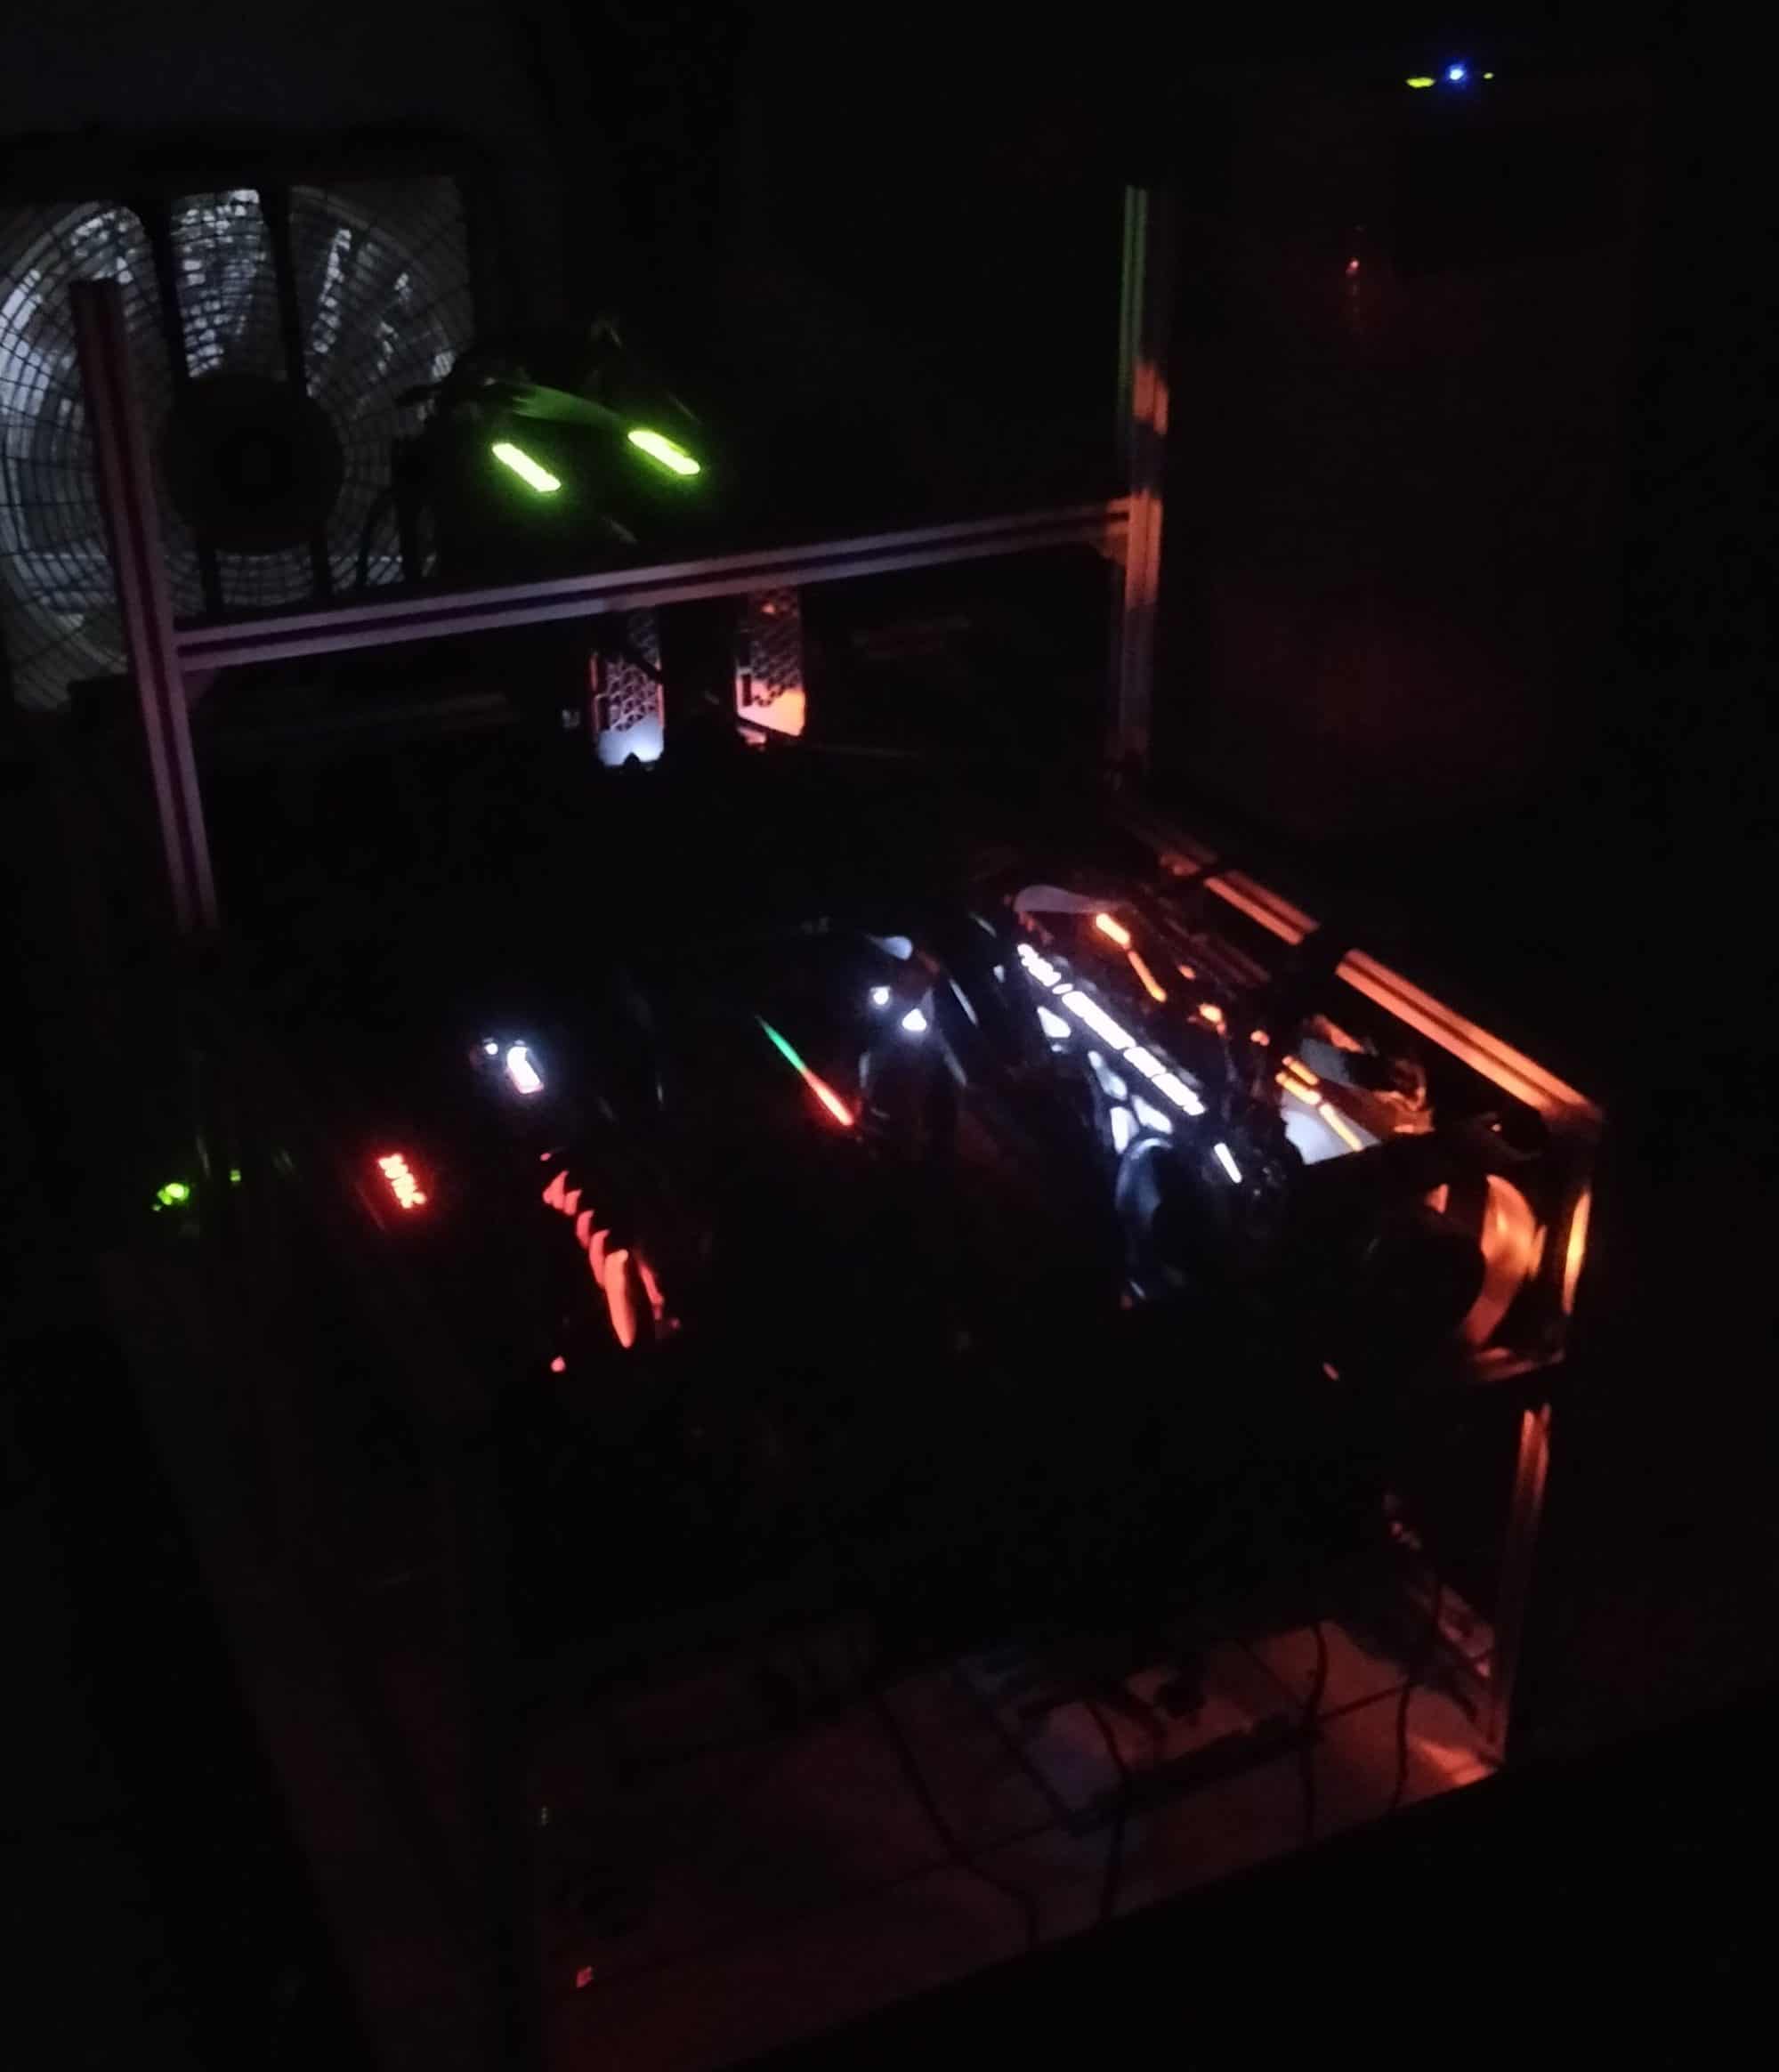
As for the frame, I’m afraid there’s not a whole lot of specific information I can provide because you’ll need to factor in your own environment with broader considerations regarding temperature control. Depending on where you live and what kind of shelter your rig will be running in, something like this 6-GPU case may be perfectly adequate. However, this rig is going to run hot and the name of the game is heat dissipation. The air around your GPUs is going to heat up significantly and you will need to get rid of that hot air to make sure your cards are running anywhere between~60–75 degrees Celsius. Installing fans onto the frame is a common and effective way to do this as long as you have an open window for the hot air to flow through. The more suction/air flow you can create, the cooler your cards will run, so I’ll leave it up to your DIY mojo to figure out what works for you. Below is a picture of 14 GPUs assembled on a single motherboard, running all cards below 65 degrees Celsius, and protected indoors from the Florida heat.
Plenty of ventilation
Keep in mind that the noise produced by the fans is nontrivial so be sure there isn’t anyone around who would be pestered by the constant whirring. They most likely won’t understand that you are literally capturing and converting thermodynamic energy into a store of value before their very eyes.
Now for the power supply, you’ll want to get the most watts per dollar while considering the same bottleneck constraints as the motherboard. The board I linked above has three 24-pin ATX connectors for three full power supplies so there’s plenty of room for wattage. You’ll need to calculate the required wattage based off how many GPUs you intend to run. You can also change the power draw for your cards so you’ll need to decide whether you want to maximize raw total hash-rate or optimize for the most efficient hash-rate per watt. There is definitely a sweetspot for every card and coin you decide to mine but it’ll take some trial and error to figure this out. To throw some sample figures out there, if you got your hands on six (6) Nvidia GTX 1080 Ti GPUs, a 1500W power supply should be plenty to run them at a cost-efficient 185W each and still be able to power the motherboard, CPU, and other components.
Another important power supply spec to watch out for is the 80+ Titanium Certification. The 80 Plus program categorizes power supplies by how well they deliver power after heat loss, so with that direct of an impact on your cost efficiency, you’ll want a power supply with top marks here if you can find a good price.
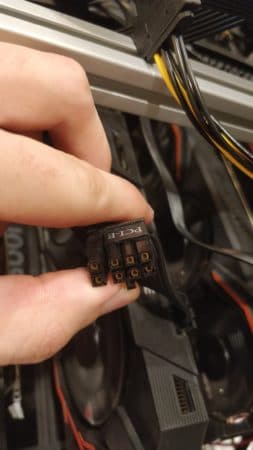
6+2 pin PCIe for GPUs
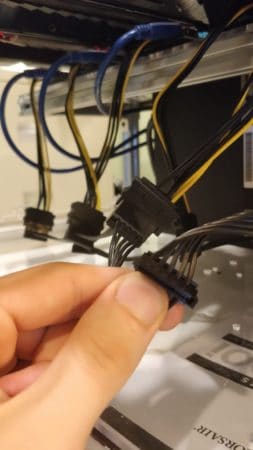
4 pin Molex for power risers
You also want to keep count of the number of 6+2 pin PCIe cables and make sure you have enough for all of your GPUs, particularly since the 1080 Ti requires two (2) such connectors while some cards only require one (1). You should have plenty of Molex cables, and you’ll need those plugged in to power your risers.
The power risers are pretty straightforward components so you can just buy a multi-pack with solid reviews and call it a day. You may want to get a few more than you need just in case any of them are flaky. If you run into any issues during setup, swapping out the risers are often a common fix.
Finally your power switch plugs right into the motherboard for when you are ready to power on.
Booting Up
So like I mentioned, this isn’t quite a step-by-step technical guide, but after you’ve done the heavy lifting of assembling all of your components, the next goal will be to boot up the rig and get your mining software running to begin earning block rewards for the coin you choose to mine. You’re going to need:
- Monitor + Mouse + Keyboard for interactivity
- Internet connection (via Ethernet or WiFi)
- Bootable operating system
Most of these should be pretty much plug-and-play, but without a bootable operating system, you’ll be stuck in the BIOS with all sorts of advanced low-level configurations to ruin. Any hard drives detected by the motherboard should attempt to boot up with the first operating system it finds when you power on. If nothing is detected in the boot menu, you have a problem with your hard drive so double check that connection. The BIOS may also have a visual for you showing which GPUs have been detected in the PCIe slots on the motherboard. If you see problems here you’ll want to power down and double check those connections too.
Before going further you’ll need a bootable operating system. I’m going to recommend Ubuntu/Linux and any resources I recommend will be geared towards that choice. Windows is perfectly fine too and may even have more user-friendly tools for mining, but I live on the command line and I encourage others to familiarize themselves to gain a deeper understanding of computers and better control of your mining operation.
Check out some guides on either Windows or Mac for creating a bootable USB drive and stick it right into the motherboard before powering on your rig again. Ubuntu will guide you through installing the OS to your SSD drive so you don’t need the USB stick plugged in the next time around. Once you see the Ubuntu desktop, check that your internet connection is working by opening up Firefox and here is where your next adventure begins.
At this point you’ll have run into any number of problems trying to boot up and there are much more detailed tutorials already out there that you can now follow directly on your mining rig. However, at a high level some of the next tasks will be:
- Installing up-to-date graphics card drivers
- Configuring and running the mining software of your choice
- Changing power limits, fan speeds, and clock rates on your GPUs to reach optimal mining efficiency
- Keeping your cards cool to extend their lifespan and maintain performance
I hope to follow up with another piece that is highly-specific to Zcash+Nvidia mining with optimization scripts I’ve written myself and other neat tricks I’m using to monitor and improve performance. If you need a bit of guidance, feel free to send me an email ([email protected]) and I’ll try to point you in the right direction. I can also offer full-on technical consulting and service if you’d like a more managed setup. Happy mining!
Cue techno bass beats
The post Mining the Future of Money appeared first on CoinCentral.

Coincentral.com is author of this content, TheBitcoinNews.com is is not responsible for the content of external sites.
Our Social Networks: Facebook Instagram Pinterest Reddit Telegram Twitter Youtube


