Keeping cryptocurrencies safe is a fundamental part of participating in the digital economy, and hardware wallets have become popular security solutions. These days there is a slew of devices on the market, each with its own options and features. One of these is the Keepkey wallet, a product that’s been well received by digital currency investors over the last three years.
The Keepkey Hardware Wallet
 Earlier this week I took a look at the Keepkey hardware wallet, a device that allows users to store multiple cryptocurrencies in a secure fashion. Keepkey is sold for US$129 per device, which is more expensive than the Ledger Nano, Coolwallet S, and Trezor One. Nevertheless, the small rectangular device is more pleasing to hold and the screen looks very nice when the Keepkey is operating. The case the Keepkey comes in is packaged well and resembles an unopened Apple product. Keepkey, Coolwallet, and the Ledger all have well-packaged boxes compared to the Trezor One packaging.
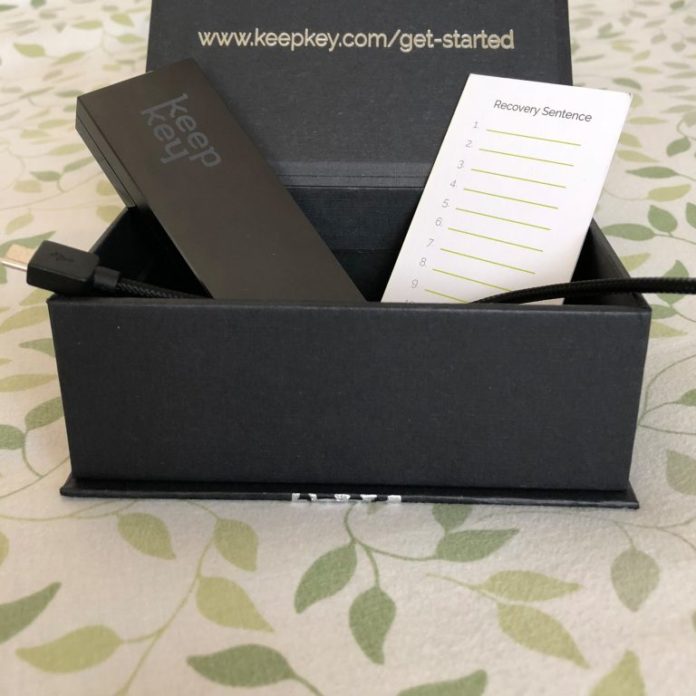
The black Keepkey box is sealed in plastic wrapping and when removed there’s also a piece of tamper-resistant tape holding the box closed. After inspecting the tape and making sure the box has not been opened previously, a knife is needed to cut the tape’s seal. Inside the box is a Keepkey, a 12-word seed card, a USB cord, and some warranty information. The Keepkey has a plastic anti-scratch film laid over the device’s screen and is encased in black foam. Keepkey’s large OLED screen is pleasing to look at and is probably one of the device’s best features. After opening the Keepkey, I headed over to the company’s Getting Started page and downloaded the Keepkey application for Google Chrome. Keepkey only works with Chrome, but it’s the same with most hardware wallets now.
Connecting to Chrome and Initializing the Seed
After installing the application to Chrome, the platform asks you to plug your Keepkey in to get started. Immediately after initiating the Keepkey it required a firmware update and would not start the process of initiating a seed until the firmware was downloaded into the device. Removing the USB cable from my Keepkey was an uncomfortable feeling and it took a bit of force to insert and remove the cord compared to other devices. Ledger Nano is probably the best as far as connecting the cord, with the Trezor One following behind because my Trezor device has always had a weird connection feeling as well. However, after using the USB connection a few times with the Keepkey, connecting was easier and got much more comfortable to insert over time.
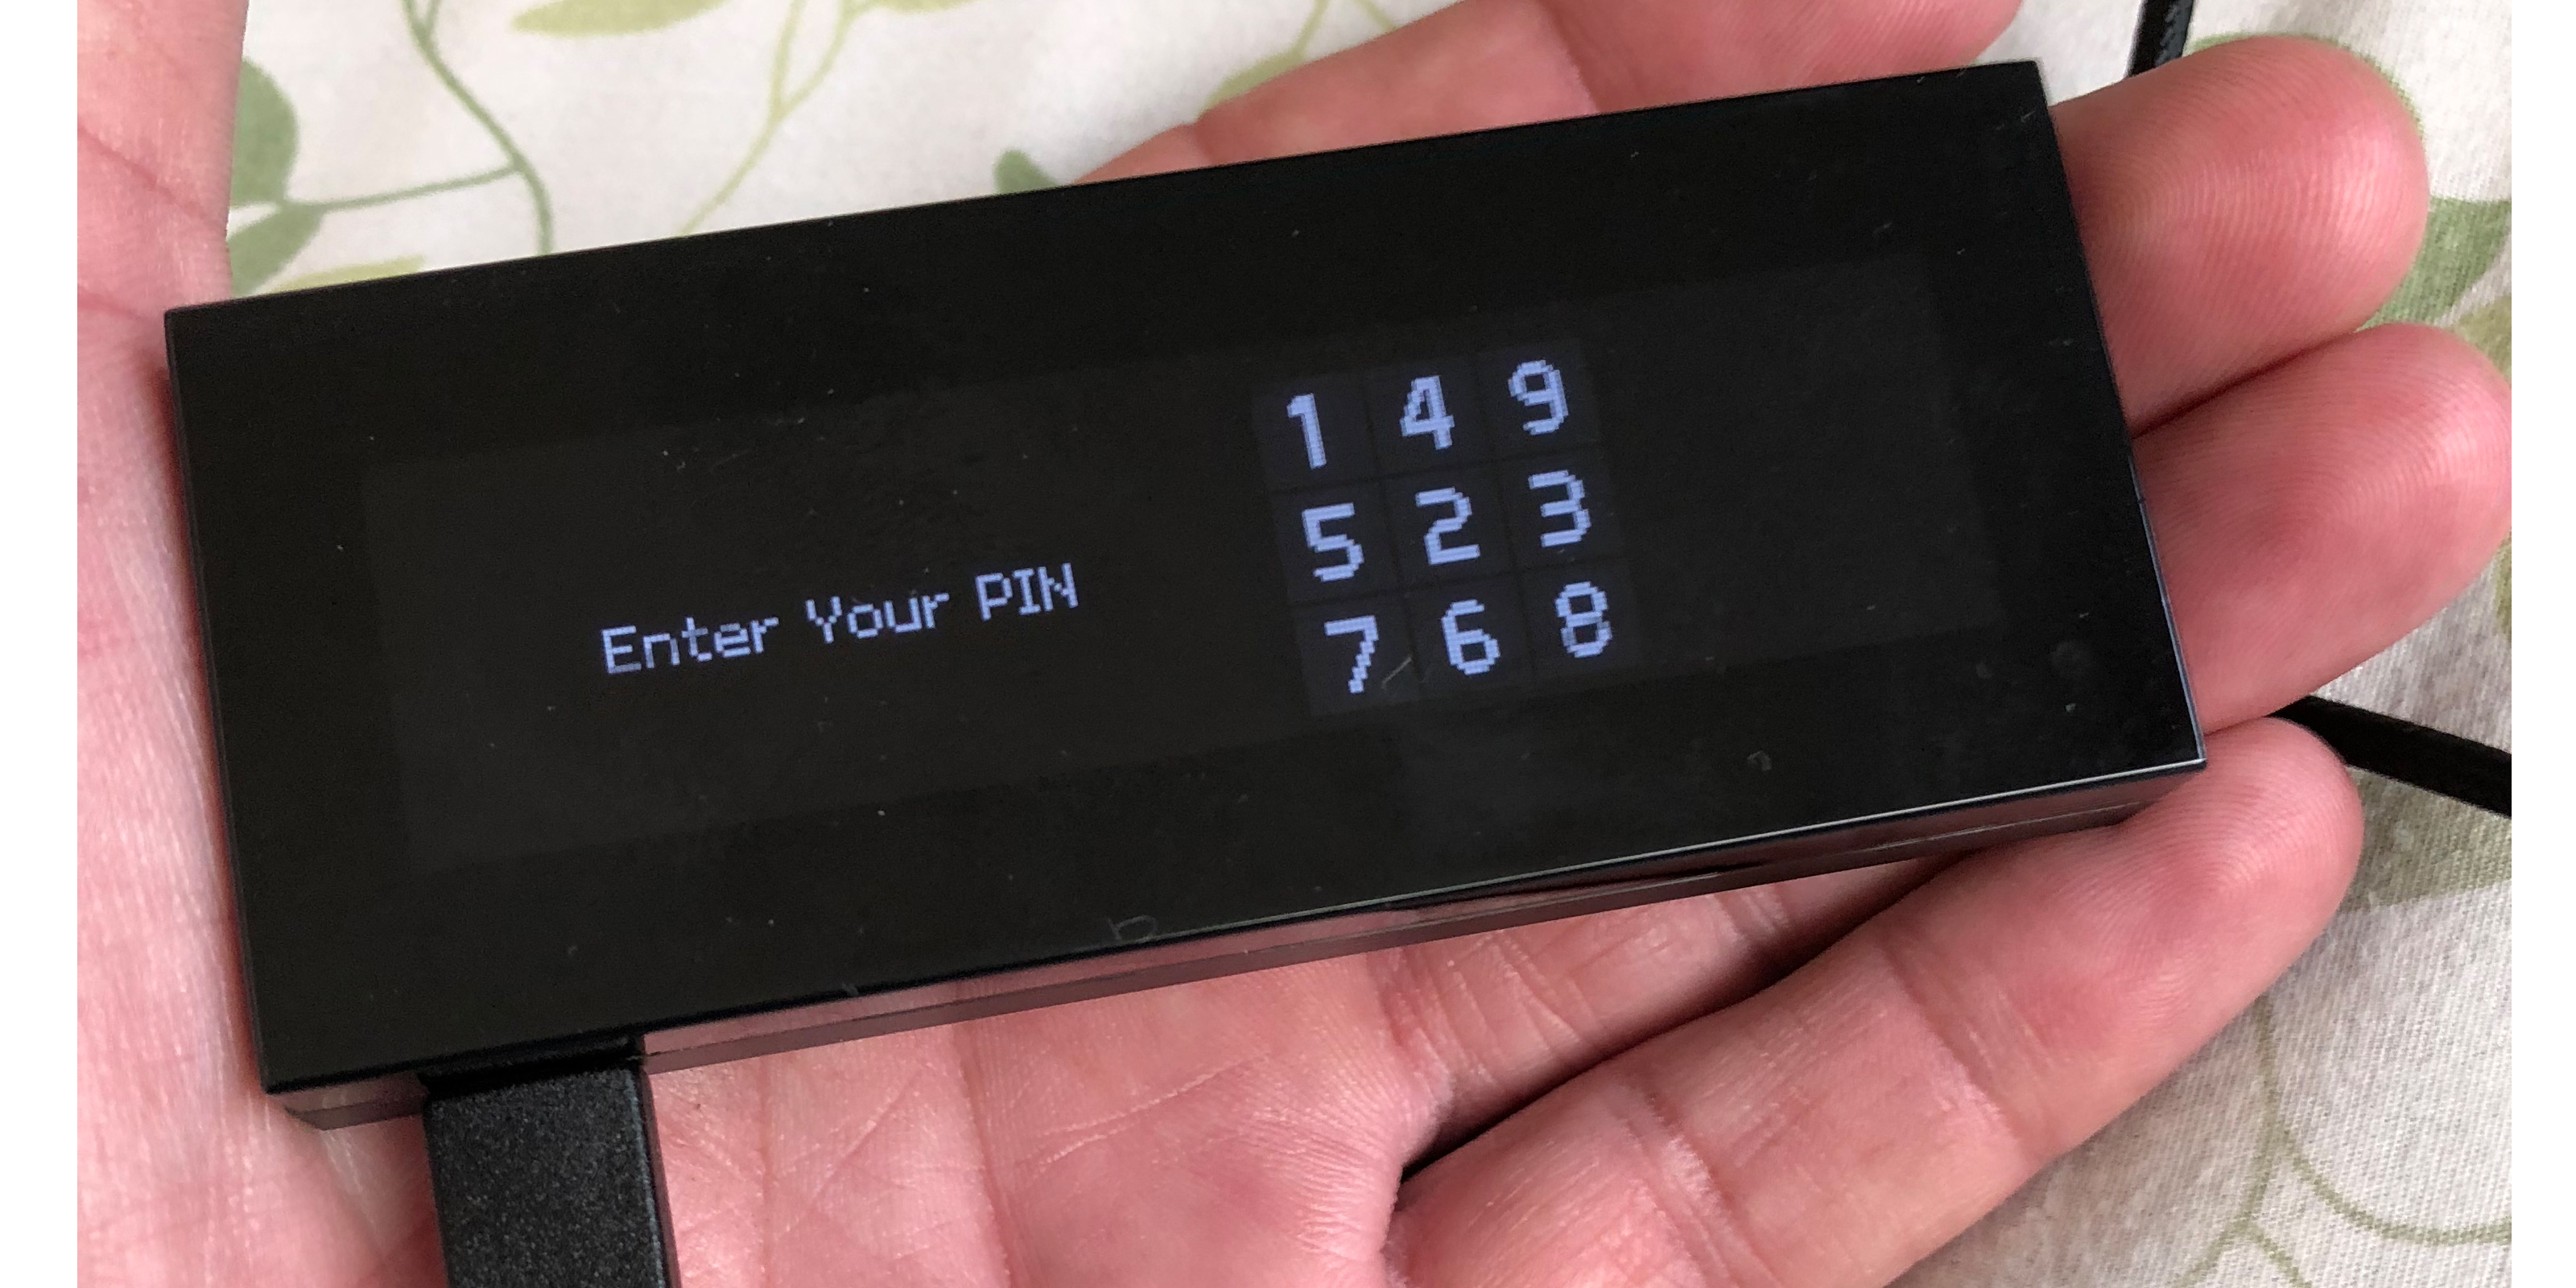
Moving on, the Keepkey begins by initiating a new device name, seed and PIN. The program makes you double check the PIN twice and then asks you to write down the seed phrase, which is located on the device itself. Unlike other hardware wallets, the Keepkey does not require you to double check the 12-word phrase. After this process, you are granted access to the first account which is dedicated to BTC. In order to add other cryptocurrencies, there is a dropdown menu that allows users to add BCH, DOGE, LTC, ETH, plus a range of ERC20 tokens.
Transactions, Shapeshift, and Comparisons to Other Models
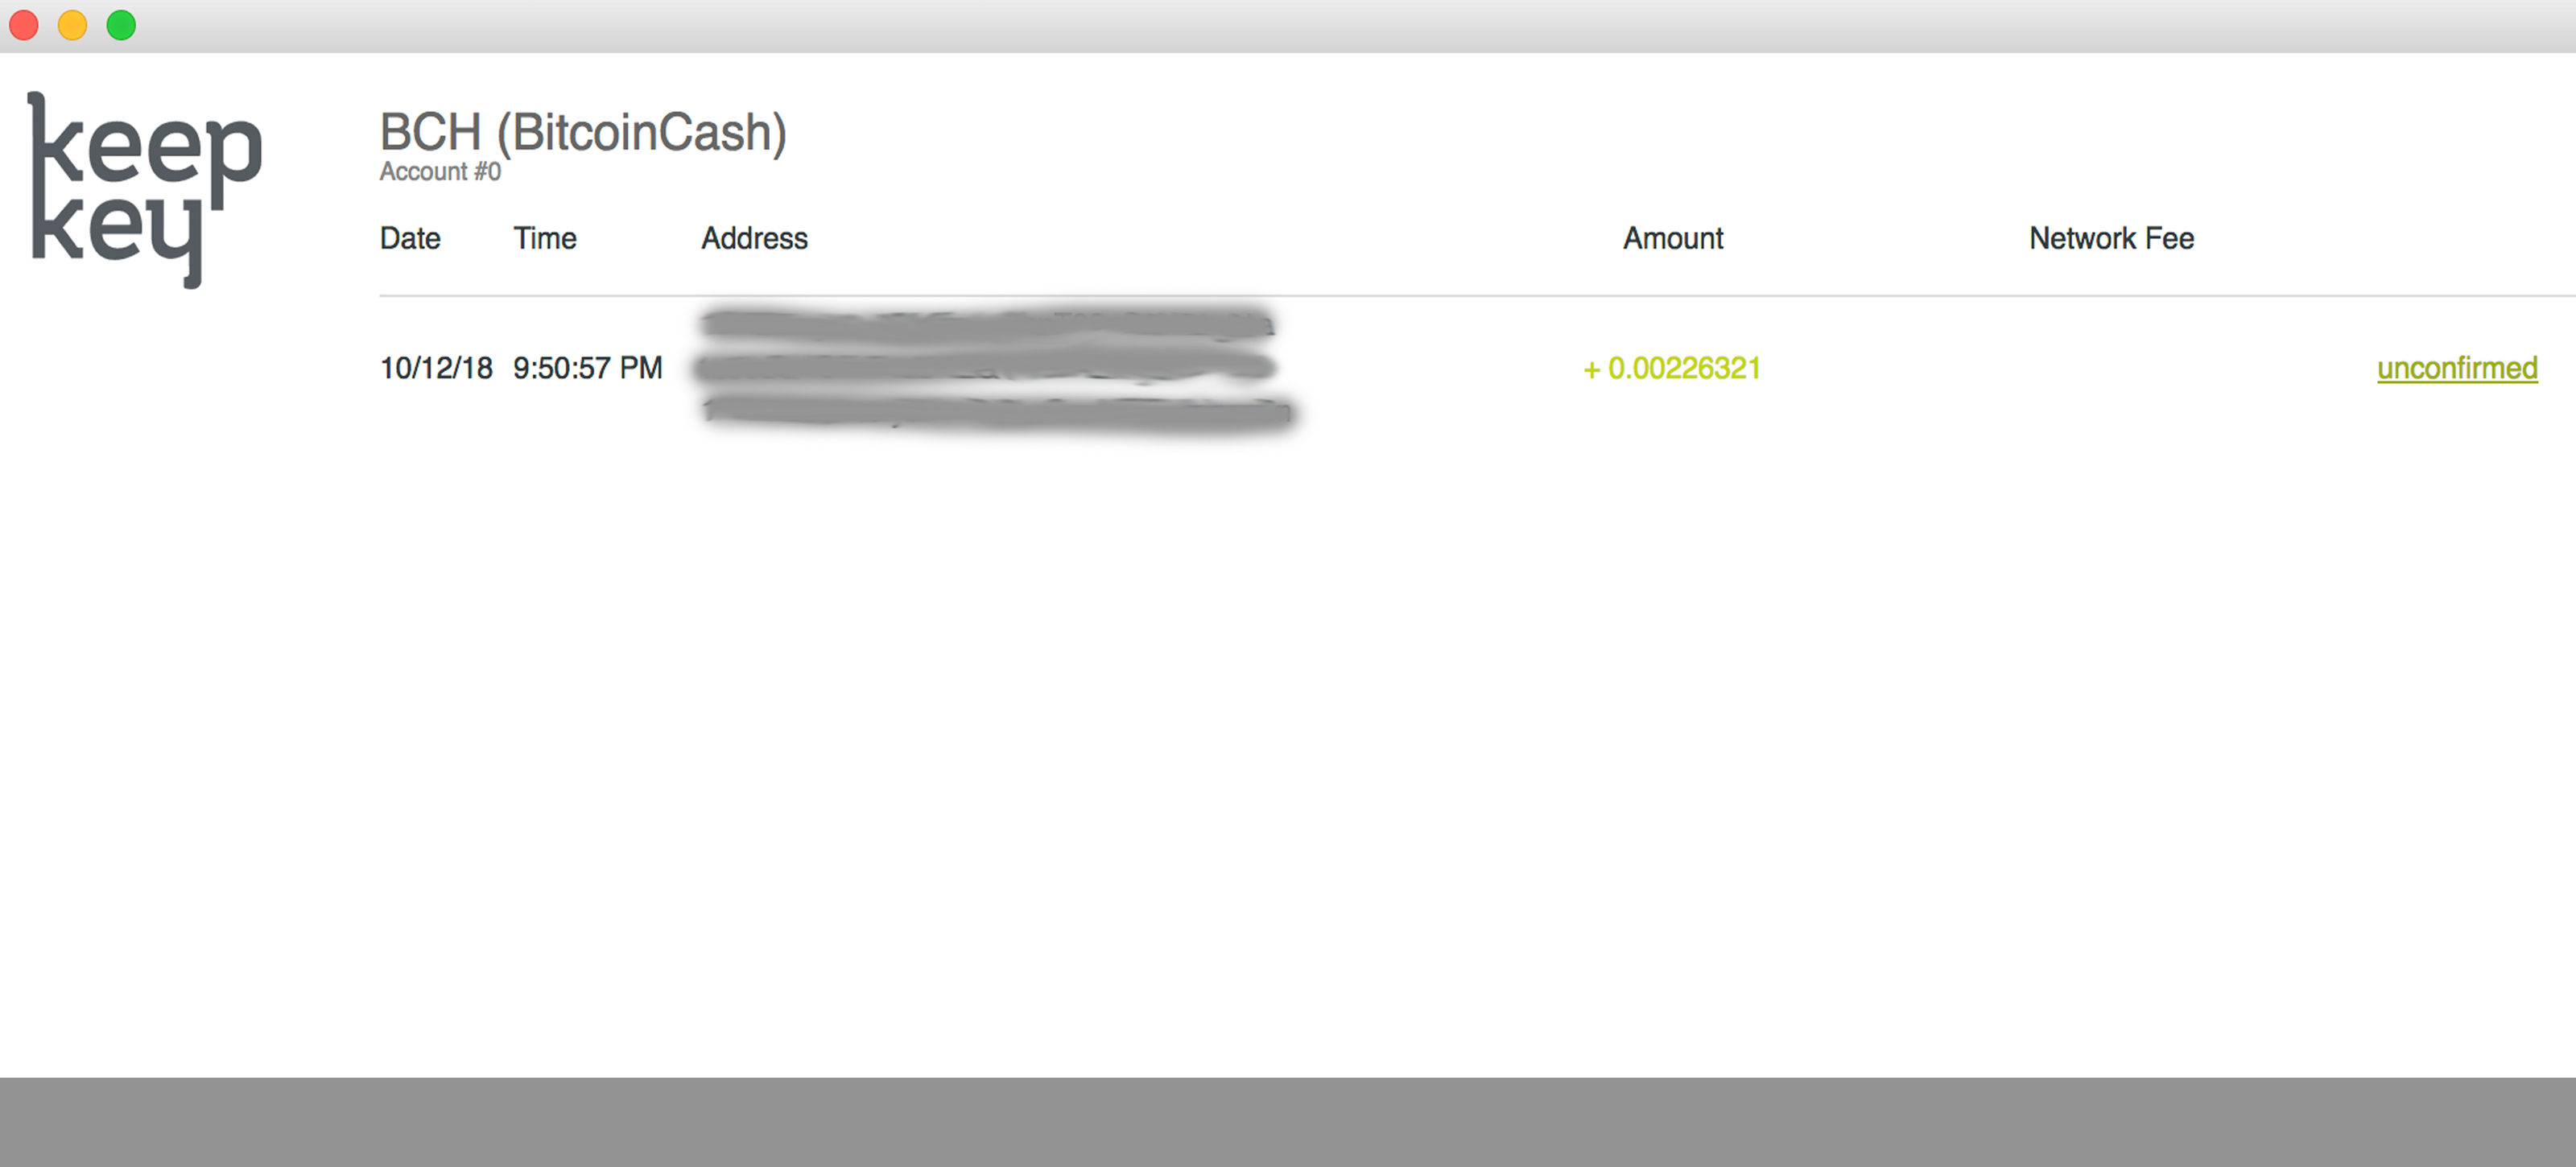
Unlike other hardware wallets, Keepkey needs to be plugged in to view accounts and they can’t be seen when the device is disconnected. After the initial seed had been set up, I created a bitcoin cash (BCH) wallet to send myself some funds. Anytime I test a new wallet I always send a small fraction of crypto just to make sure the application is working properly. The wallet immediately saw the transaction; you can view confirmed and unconfirmed transactions in a separate window that’s tethered to a block explorer.
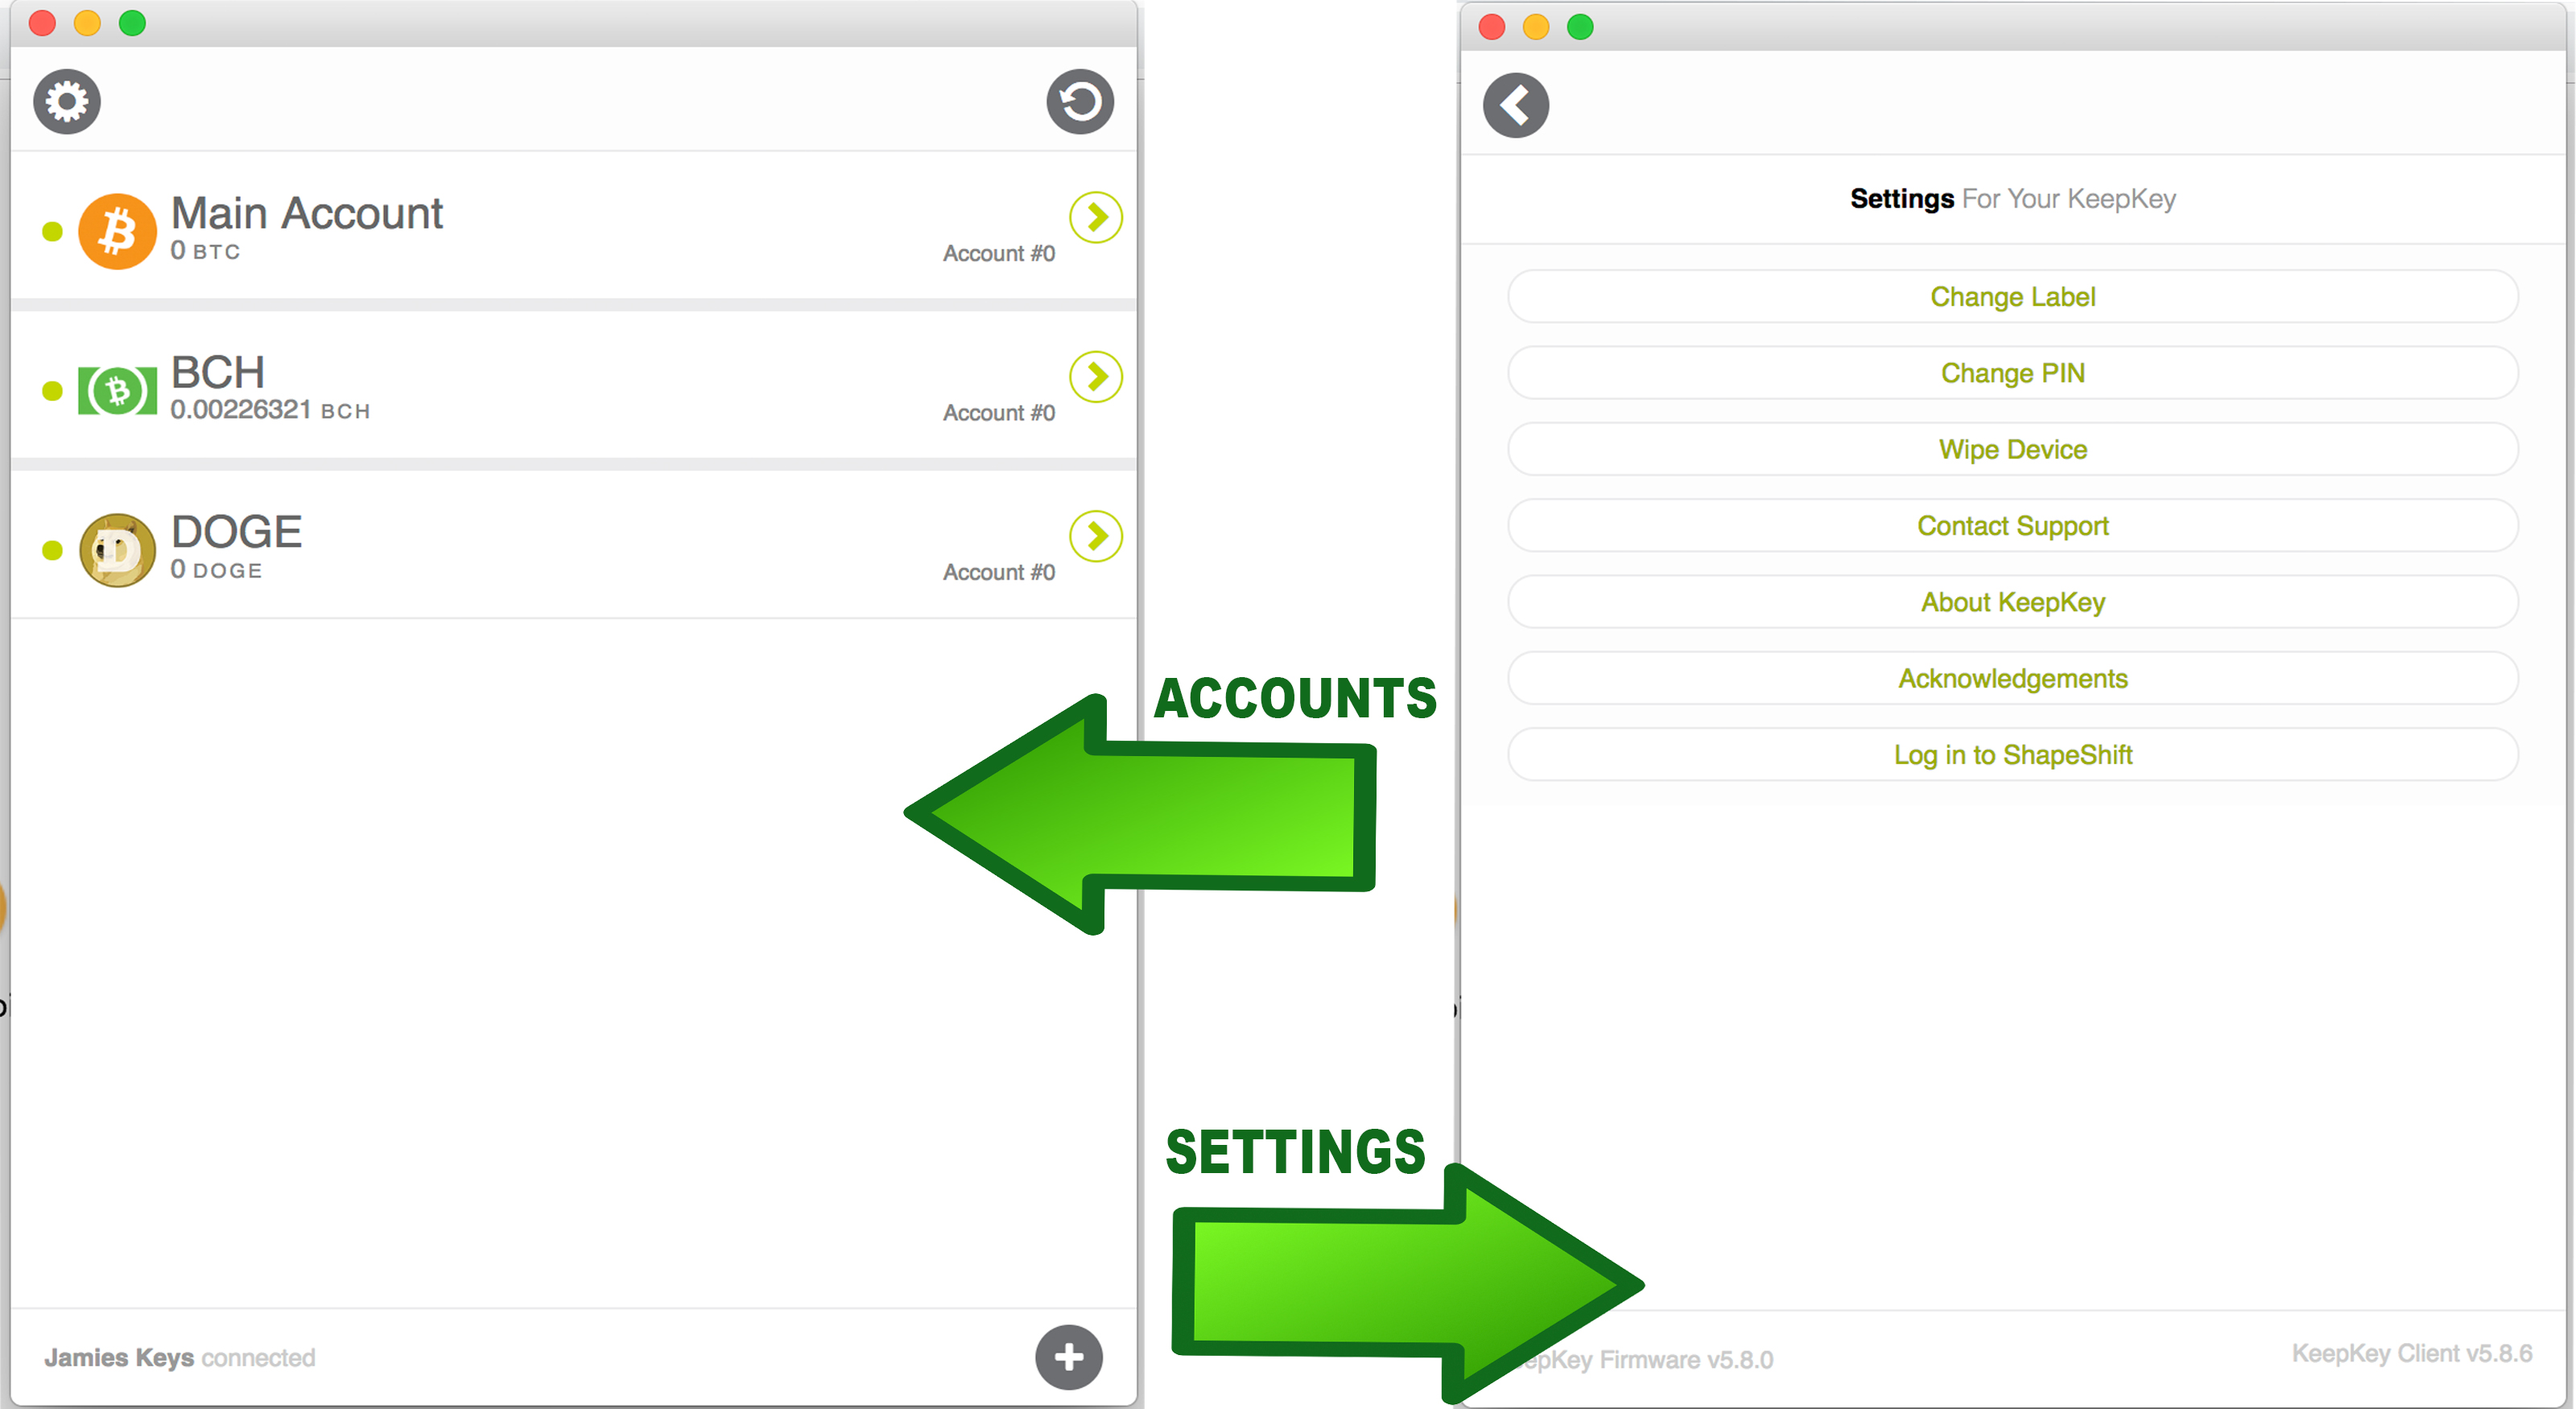
The Keepkey’s interface is fairly intuitive, and you can change things like the PIN or use the wallet’s in-client Shapeshift option within the settings section. Sending and receiving is simple and the actual device itself is used for signing verification, while also showing sending/receiving addresses on the screen as well.
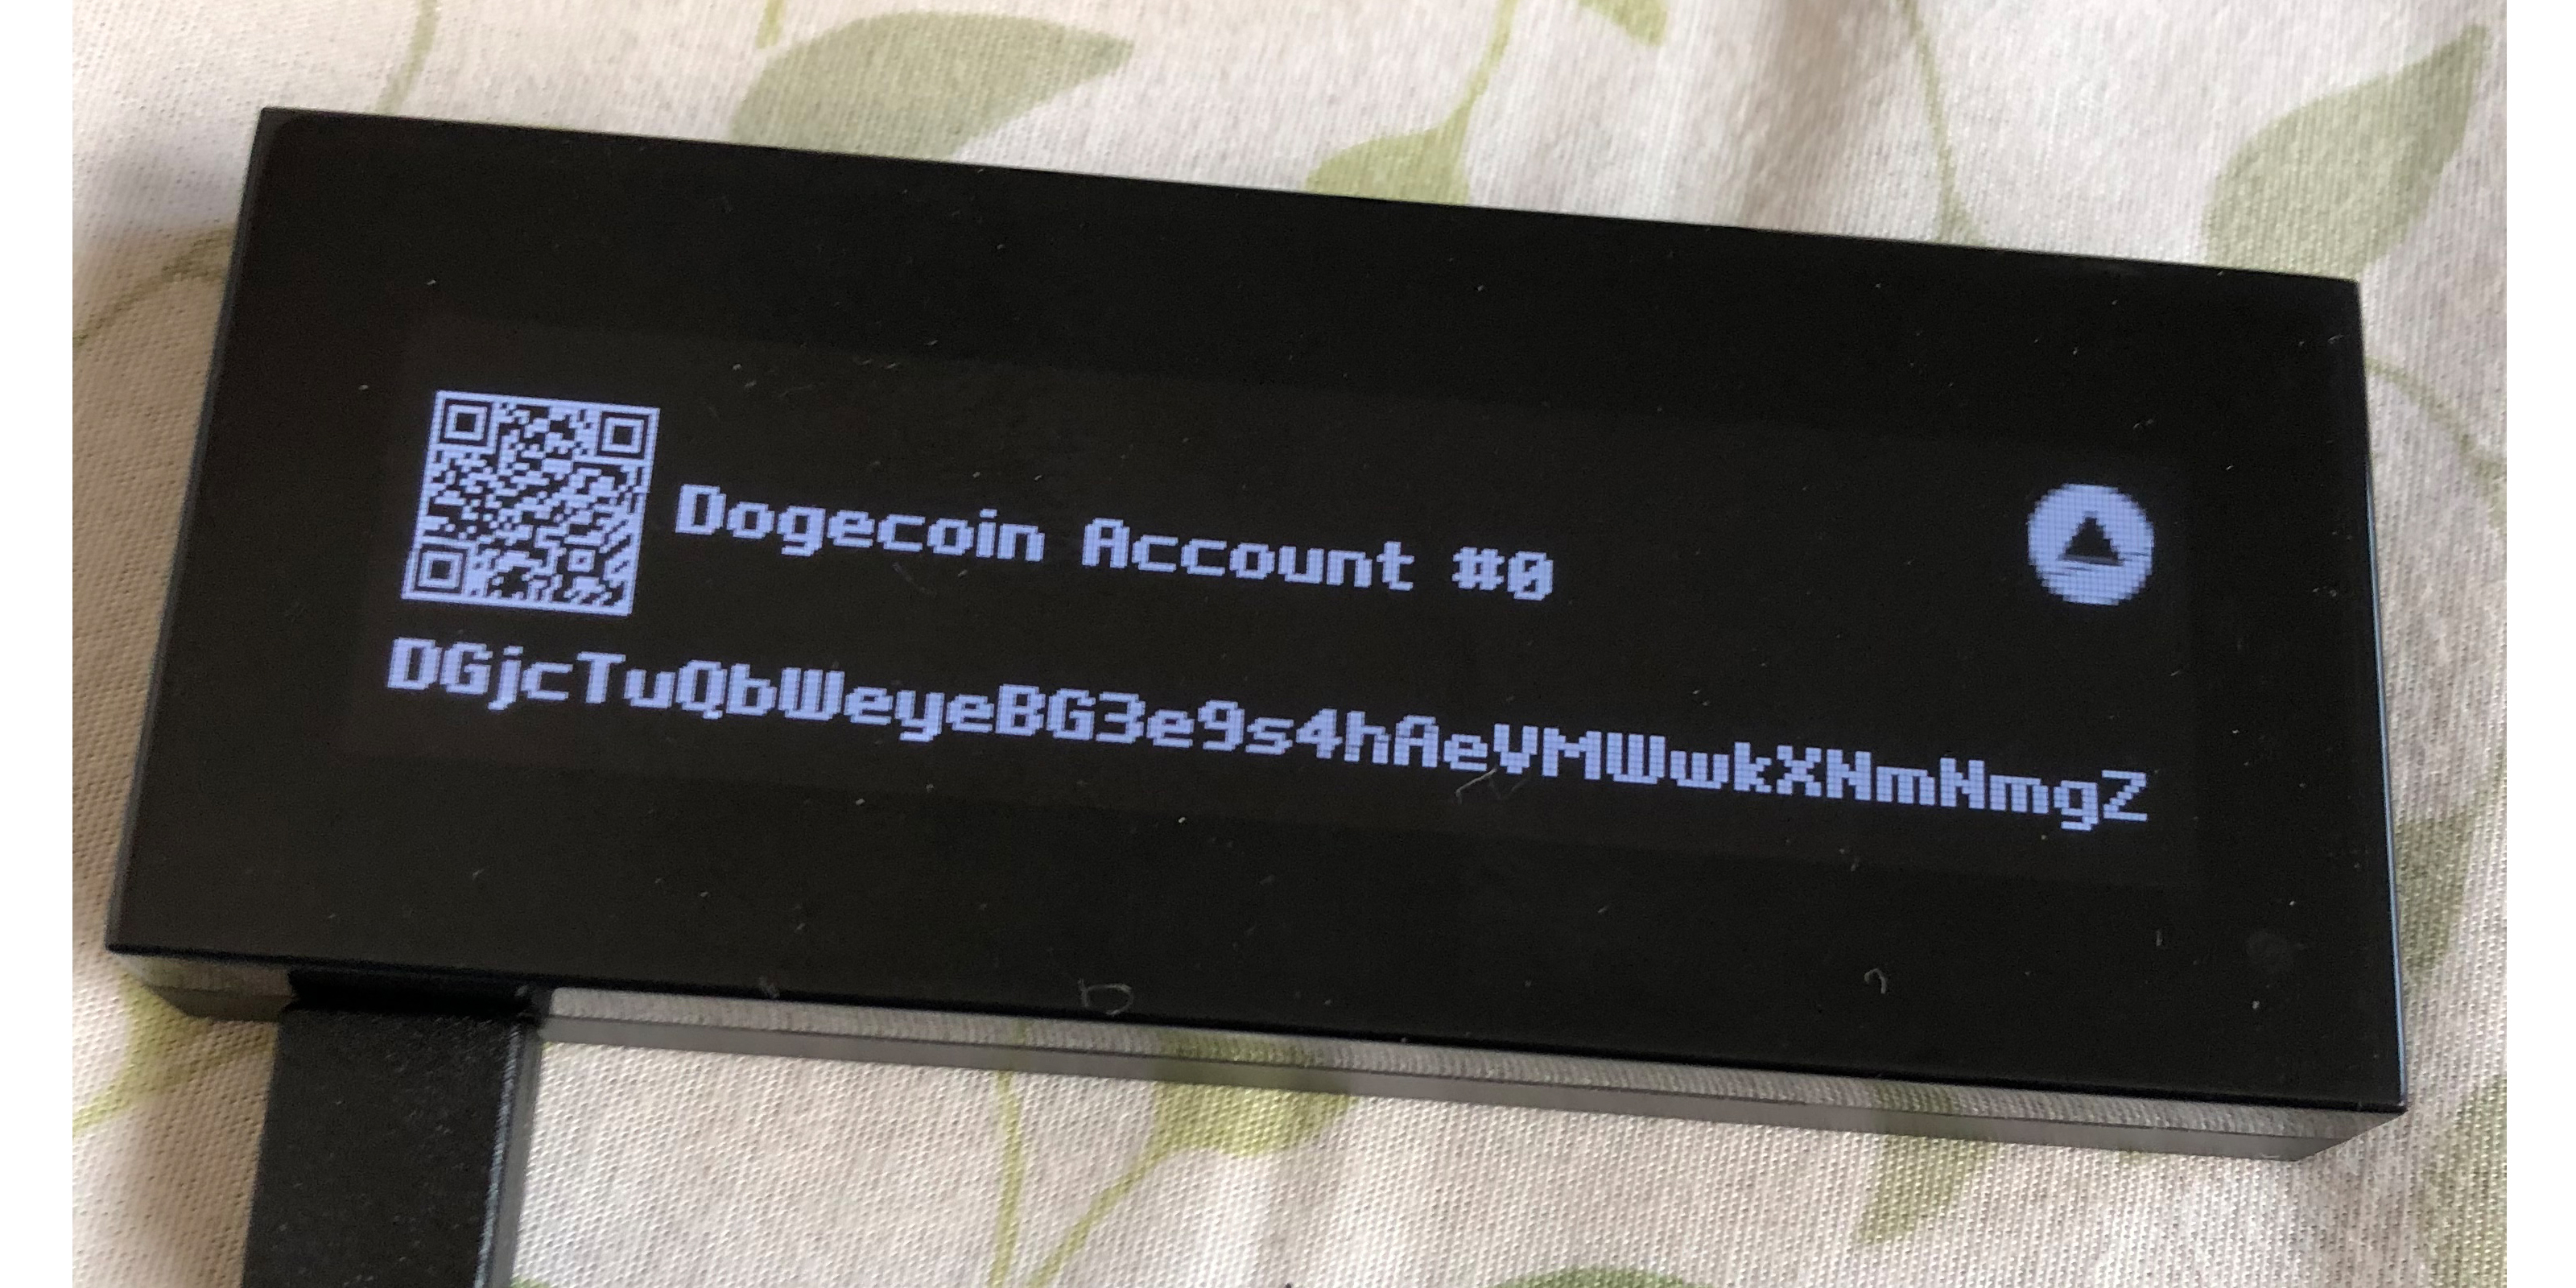
Following the transaction, I decided to look at the client’s Shapeshift integration. Keepkey is owned by the firm Shapeshift AG and was one of the first hardware wallets to offer trading abilities within the wallet. Recently, however, Shapeshift has changed the platform’s business model to a membership exchange and all Keepkey users have to register using the client.
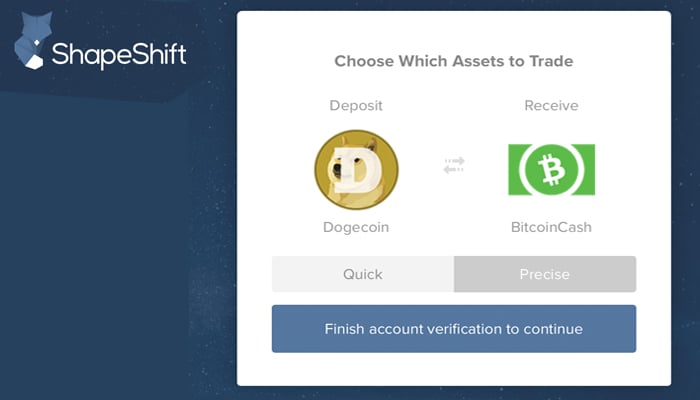
The required items needed to use Shapeshift include a verified email and the user must submit a photo ID to trade. All of these tasks can be done through the Keepkey client and a quick email verification. After the account is processed you can trade on the Shapeshift exchange in-wallet using the “quick” or “precise” trading options.
Overall, the Keepkey operates fairly smoothly and I didn’t really have any problems throughout the setup and funding the device. The Keepkey’s user interface is more comfortable to move around and use than the Ledger Nano, and Keepkey operates similarly to the Trezor One. Unlike the Trezor or Ledger, the Keepkey uses one button navigation but still works fluidly with the wallet’s tasks like sending and receiving. The device doesn’t have support for too many cryptocurrencies right now, and other products offer a greater selection. But as far as the coins it does hold, the Keepkey offers an easy to use operating system and is just as secure as its competitors by using similar opsec techniques.
What do you think about the Keepkey hardware wallet? Let us know what you think about this device in the comment section below.
For the latest cryptocurrency news, join our Telegram!
Disclaimer: This editorial should be considered Review or Op-ed material. The opinions expressed in this article are the author’s own. Bitcoin.com does not endorse nor support views, opinions or conclusions drawn in this post. Bitcoin.com is not responsible for or liable for any content, accuracy or quality within the Op-ed article. Review editorials are intended for informational purposes only. There are multiple security risks and methods that are ultimately made by the decisions of the user. There are various steps mentioned in reviews and guides and some of them are considered optional. Neither Bitcoin.com nor the author is responsible for any losses, mistakes, skipped steps or security measures not taken, as the ultimate decision-making process to do any of these things is solely the reader’s responsibility. For good measure always cross-reference guides with other walkthroughs found online.
Images via Jamie Redman, Keepkey, Shapeshift, and Pixabay.
Need to calculate your bitcoin holdings? Check our tools section.

Bitcoin.com is author of this content, TheBitcoinNews.com is is not responsible for the content of external sites.
Our Social Networks: Facebook Instagram Pinterest Reddit Telegram Twitter Youtube


